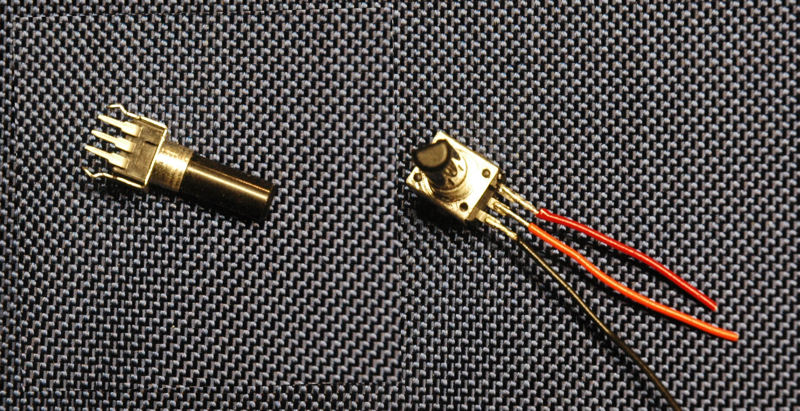
If you need pots for this project, I have them available
Chris Muir - 08/24/09
Contact Chris Muir:

|
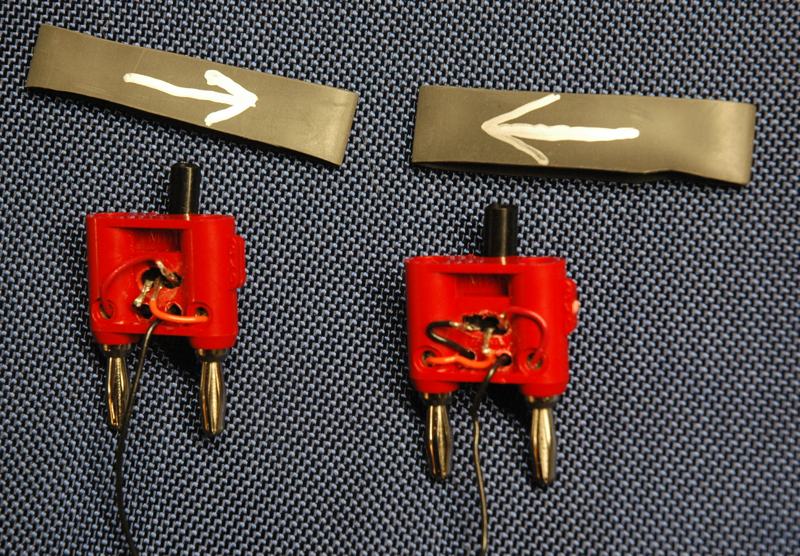
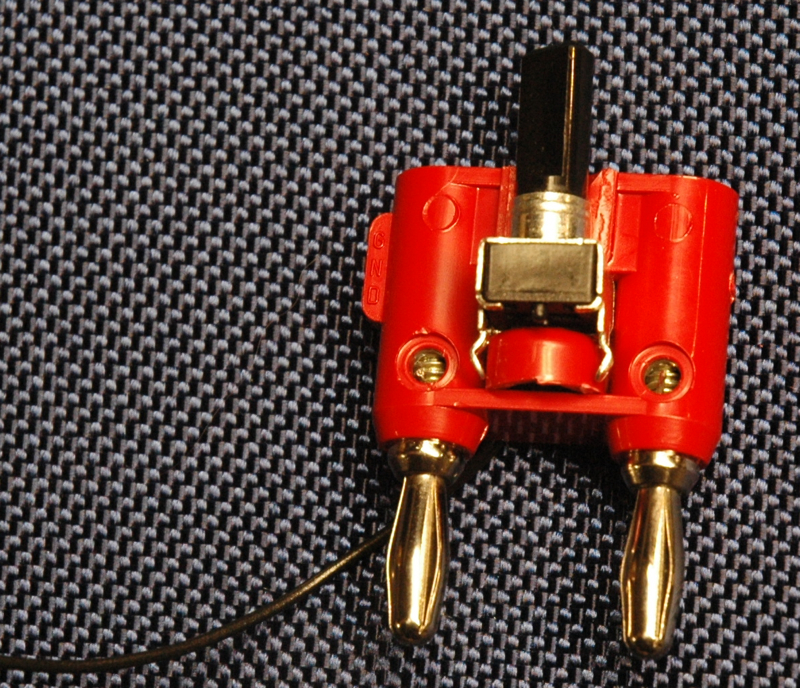
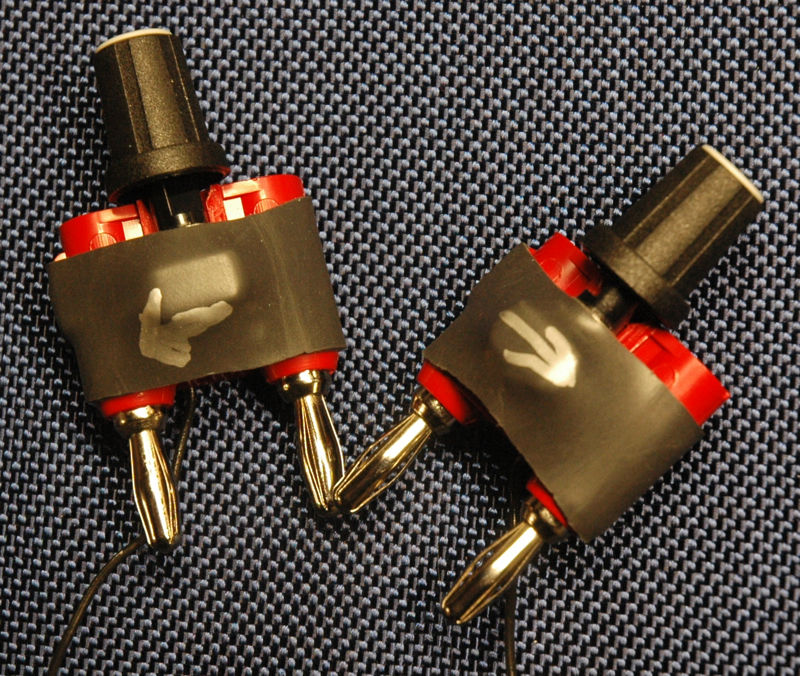
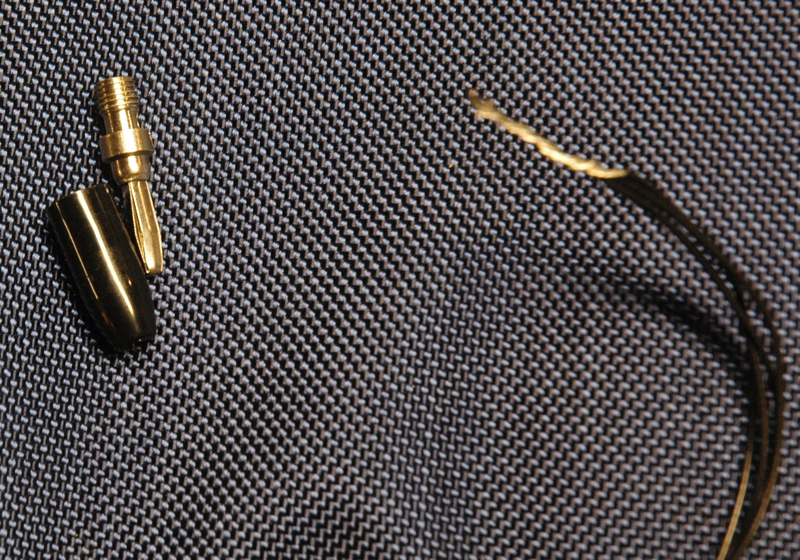
I hope someone finds this information useful. If you need pots for this project, I have them available Chris Muir - 08/24/09 |
Contact Chris Muir: |